Site Preparation:
- Choose a sunny location with well-drained, loose soil.
- Prepare the soil by loosening it to a depth of about 8-12 inches. Sweet potatoes need sandy, well-aerated soil.
- Add compost or well-rotted manure for organic matter to enhance soil fertility.

Sweet Potato Slip Preparation:
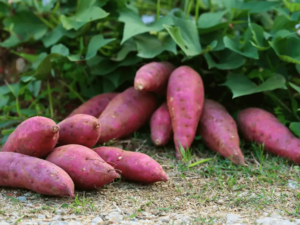
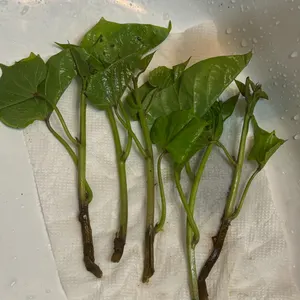
- If growing from slips (young shoots grown from mature sweet potatoes), start sprouting sweet potatoes indoors or buy slips.
- To sprout slips, place sweet potatoes in water (half-submerged) or a tray of sand/soil and keep them warm (70-80°F). Roots and slips will emerge in 4-6 weeks
Planting Slips:
- When soil temperatures are consistently above 65°F, plant the slips. Each slip should be around 6-12 inches long.
- Plant them 12-18 inches apart in rows spaced 3-4 feet apart.
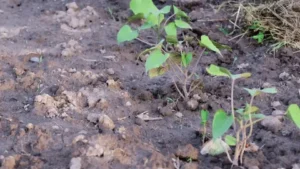
- Bury the bottom half of each slip, making sure at least two leaf nodes are below ground for rooting
Watering:
- Water immediately after planting and keep the soil evenly moist for the first 1-2 weeks.

Watering:
- Water regularly (about 1 inch per week) to ensure the slips establish roots.
- Avoid overwatering to prevent rot.
Mulching:
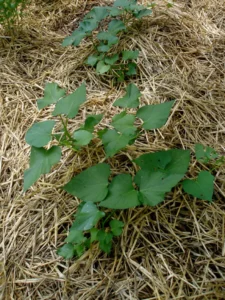
- Add mulch (like straw or grass clippings) to retain soil moisture and prevent weeds from growing.
Encourage Vine Development:
- Sweet potatoes develop vigorous vines. Allow these to grow, as healthy vines support robust root development.

Weed Control:
- Keep the area weed-free, especially in the early weeks. The vines will eventually suppress weeds on their own.
Pest Monitoring:
- Check for pests like wireworms, weevils, and aphids, especially in the early stages.
- Use organic insecticides or neem oil if necessary.
- Watering:
- As the plants mature, reduce watering slightly but still keep the soil moist. Avoid waterlogging the roots.
- Fertilization:
- Side-dress with a balanced fertilizer or compost (high potassium, low nitrogen). Too much nitrogen promotes excessive vine growth at the expense of root development.
Monitoring Growth:
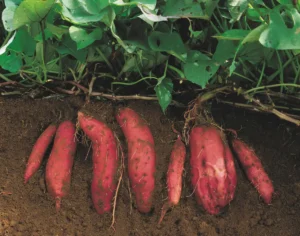
- Vines will continue to grow, but underneath, the tubers (sweet potatoes) are forming. Check for signs of stress like wilting or yellowing leaves, which may indicate poor soil or pest issues.
Pest and Disease Management:
- Continue monitoring for pests like sweet potato weevils or diseases such as root rot.
Stop Watering:
- About 2-3 weeks before harvest, reduce or stop watering. This helps the tubers mature and prevents splitting.
Check Tuber Size:
- Gently dig around one plant to check the size of the sweet potatoes. If they are about 3-4 inches in diameter, they are ready for harvest soon.
Harvest Time:
- Harvest sweet potatoes when the vines start to yellow and die back (usually around 100-120 days after planting).
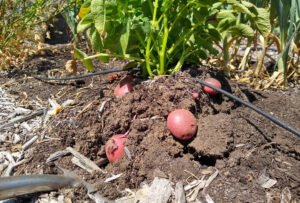
- Dig up the tubers carefully using a garden fork, taking care not to damage the sweet potatoes.
Curing the Sweet Potatoes:
- After harvesting, cure the sweet potatoes by placing them in a warm (85°F), humid location for 7-10 days. This helps to improve sweetness and prolongs storage.
Storage:
- Once cured, store sweet potatoes in a cool, dark, and well-ventilated place (55-60°F). Properly stored sweet potatoes can last several months.